How do you access the glutes in side lying? It’s easier than you think!
The Gluteals
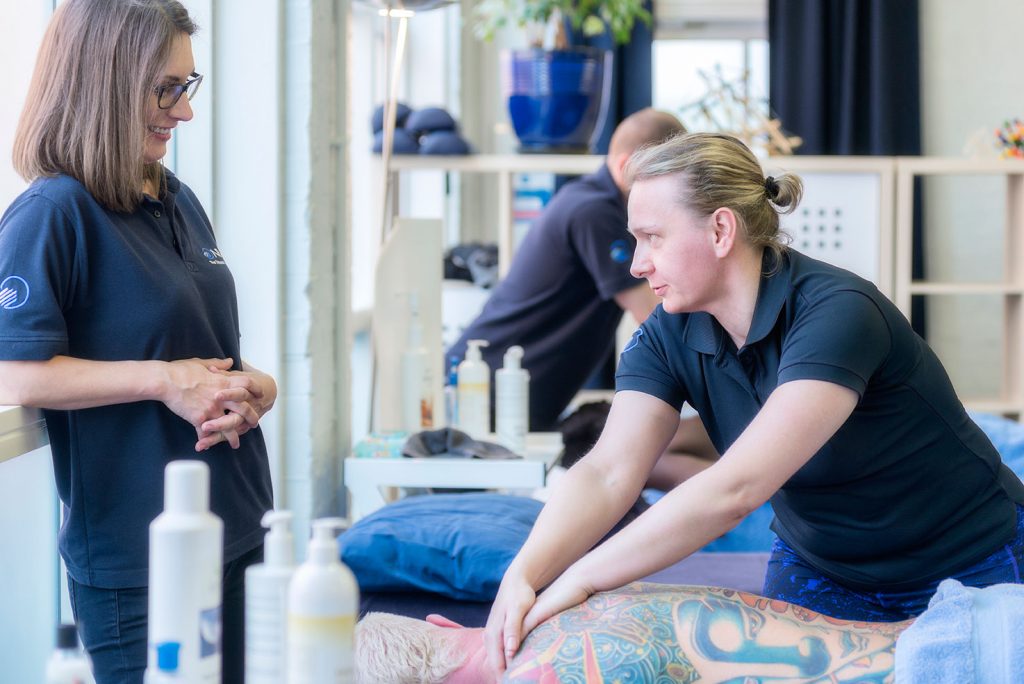
Being able to safely and comfortably access the glutes is incredibly useful to therapists for a variety of clinical reasons. The powerhouse in the body – the Gluteus Maximus – is the largest and most powerful muscle to work against gravity.
The gluteals are made up of 3 muscles:
- Maximus
- Medius
- Minimus.
For this blog, we will focus on the most superficial muscle – the Maximus.
The Maximus
Lets look at it’s classical anatomical attachment sites:
- Originates: Lateroposterior surface of sacrum and coccyx, the gluteal surface of the ilium (behind the posterior gluteal line), thoracolumbar fascia, Sacrotuberous ligament
- Insertion: Iliotibial tract, gluteal tuberosity of femur
- Action: At the hip - it extends the thigh as well as external rotation, abduction (superior part) and thigh adduction (inferior part)
Remember! When addressing any area of the body, we must take into consideration a global approach. The gluteus Maximus will share fascial interfaces with the lower back, pelvis and upper thigh and these may be areas you need to address as well.
Top tips for positioning your client
- The top leg is bent and the bottom is straight
- Place enough pillows/bolsters under the lower limb to ease the hip area.
- Position the thigh 90 degrees to the torso as well as the knee to the thigh.
- Alignment of the hip and shoulder should be straight to avoid any twisting in the spine
- Place the whole of the leg on the pillow, again this offers more support and gives ease to the hip but it also stabilizes the position.
Time to Access the Glutes!
In side lying, the glutes will gently fall away from their insertion point (as demonstrated in the video) via gravity. Use this to your advantage when applying compression or any other hands-on techniques.
Tip: The fibres from a centre point around the lateral aspect of the hip fan out like a C-Shape or a crescent moon. Apply your pressure in the same direction as demonstrated in the video. Be sure to move around the crescent and adjust the angle of your applicator keeping your body behind the movement.
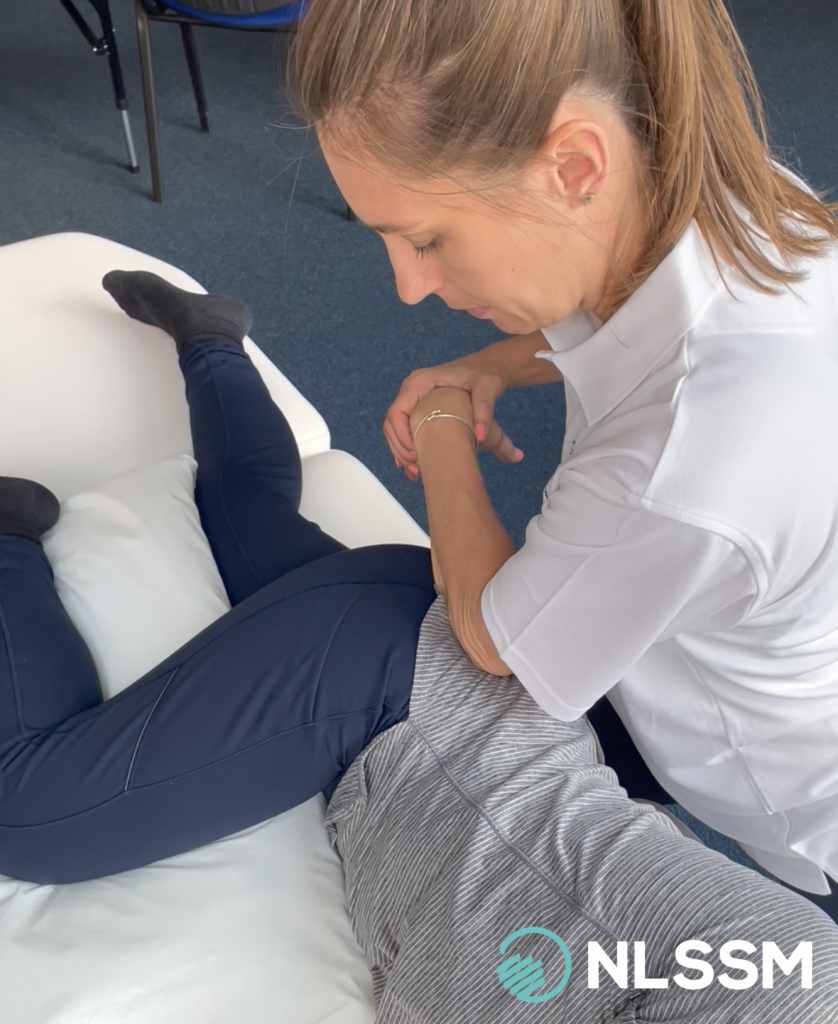
In this video, the applicator is the soft underside of the forearm. The 🗝️ key is to keep your wrist loose and soft! As soon as there is any tension in the wrist, it will impact the effectiveness of your palpation skills, your ability to gain depth, and it will cause discomfort to your client.
Remember! This is just an introduction to these techniques!
Watch the video to see the full demonstration!
Continue your learning...
While we are only demonstrating compression in this video you could also look at other remedial techniques such as Soft Tissue Release and Friction!
We offer these days on our Level 5 diploma, Bridging Program or as one-day CPDs.