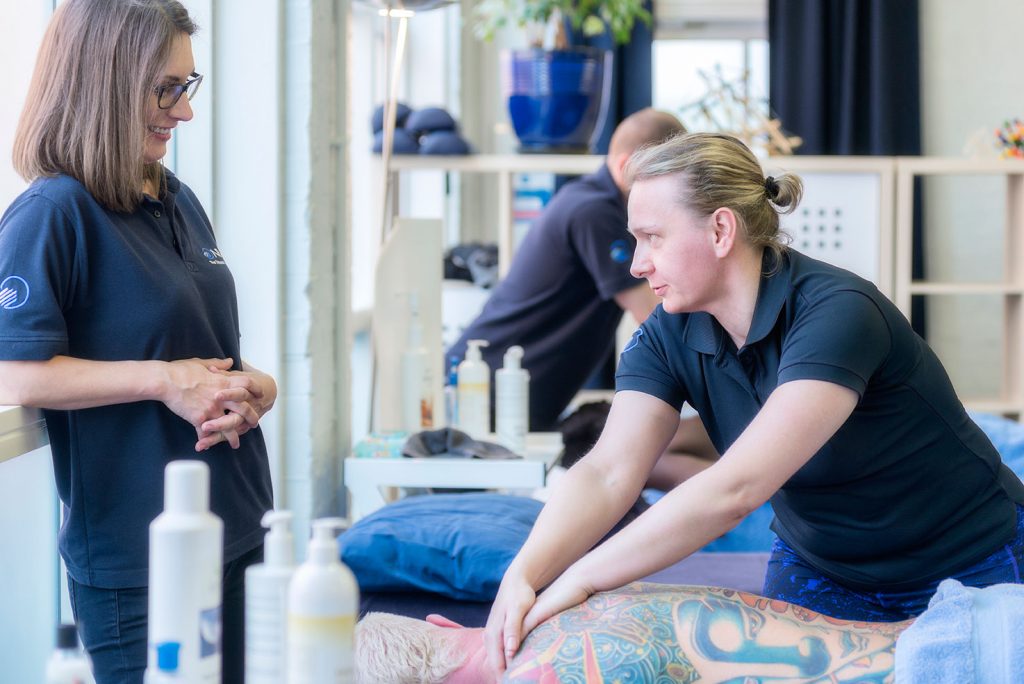
Active resisted soft tissue release (ARSTR) can be a very useful technique in a Soft Tissue Therapists tool kit.
Keep reading for a short review of how and when to use this technique!
Soft Tissue Release - What is it?
Often regarded as a stretching procedure, but it is much more than that. The primary objective is to evoke a return of muscle memory by engaging the nervous system and resetting the affected muscles back to their original resting length. There are a few different ways in which to apply STR.
What do we mean by Resisted?
When the client performs movement against a light resistance from the therapist.
Advantages of this technique
- Encourage relaxation of targeted muscle via reciprocally inhibiting muscle being stretched by asking antagonist muscle to gently engage
- Where the patient needs to be stabilised in order to apply an effective lock where it is helpful that they control movement and discomfort levels
- Create control around joints with a large range or highly moveable
- Helps to create proprioception of limb/movement
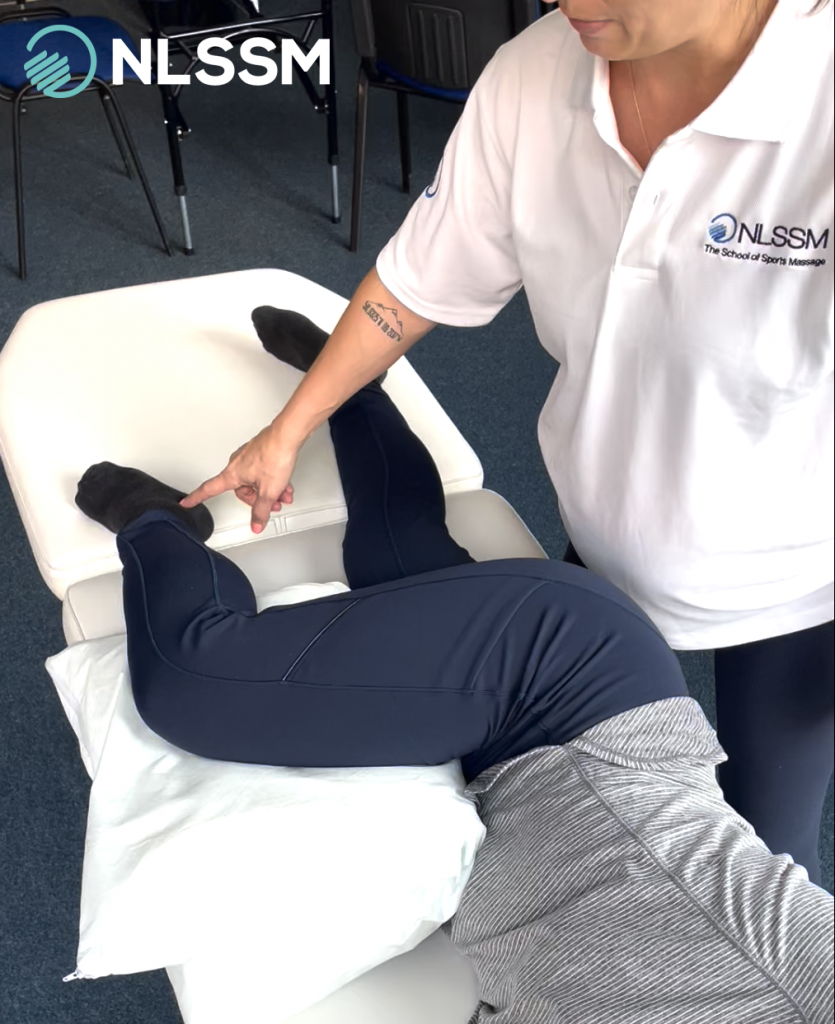
Client Set Up
When applying the technique to the lateral hip and in sidelying making sure the client is stable and at easy is key. Make sure that the clients’ hips are stacked on top of each other by placing a bolster or pillow under the medial aspect of the knee to eliminate ‘twisting’ in the lumbar spine.
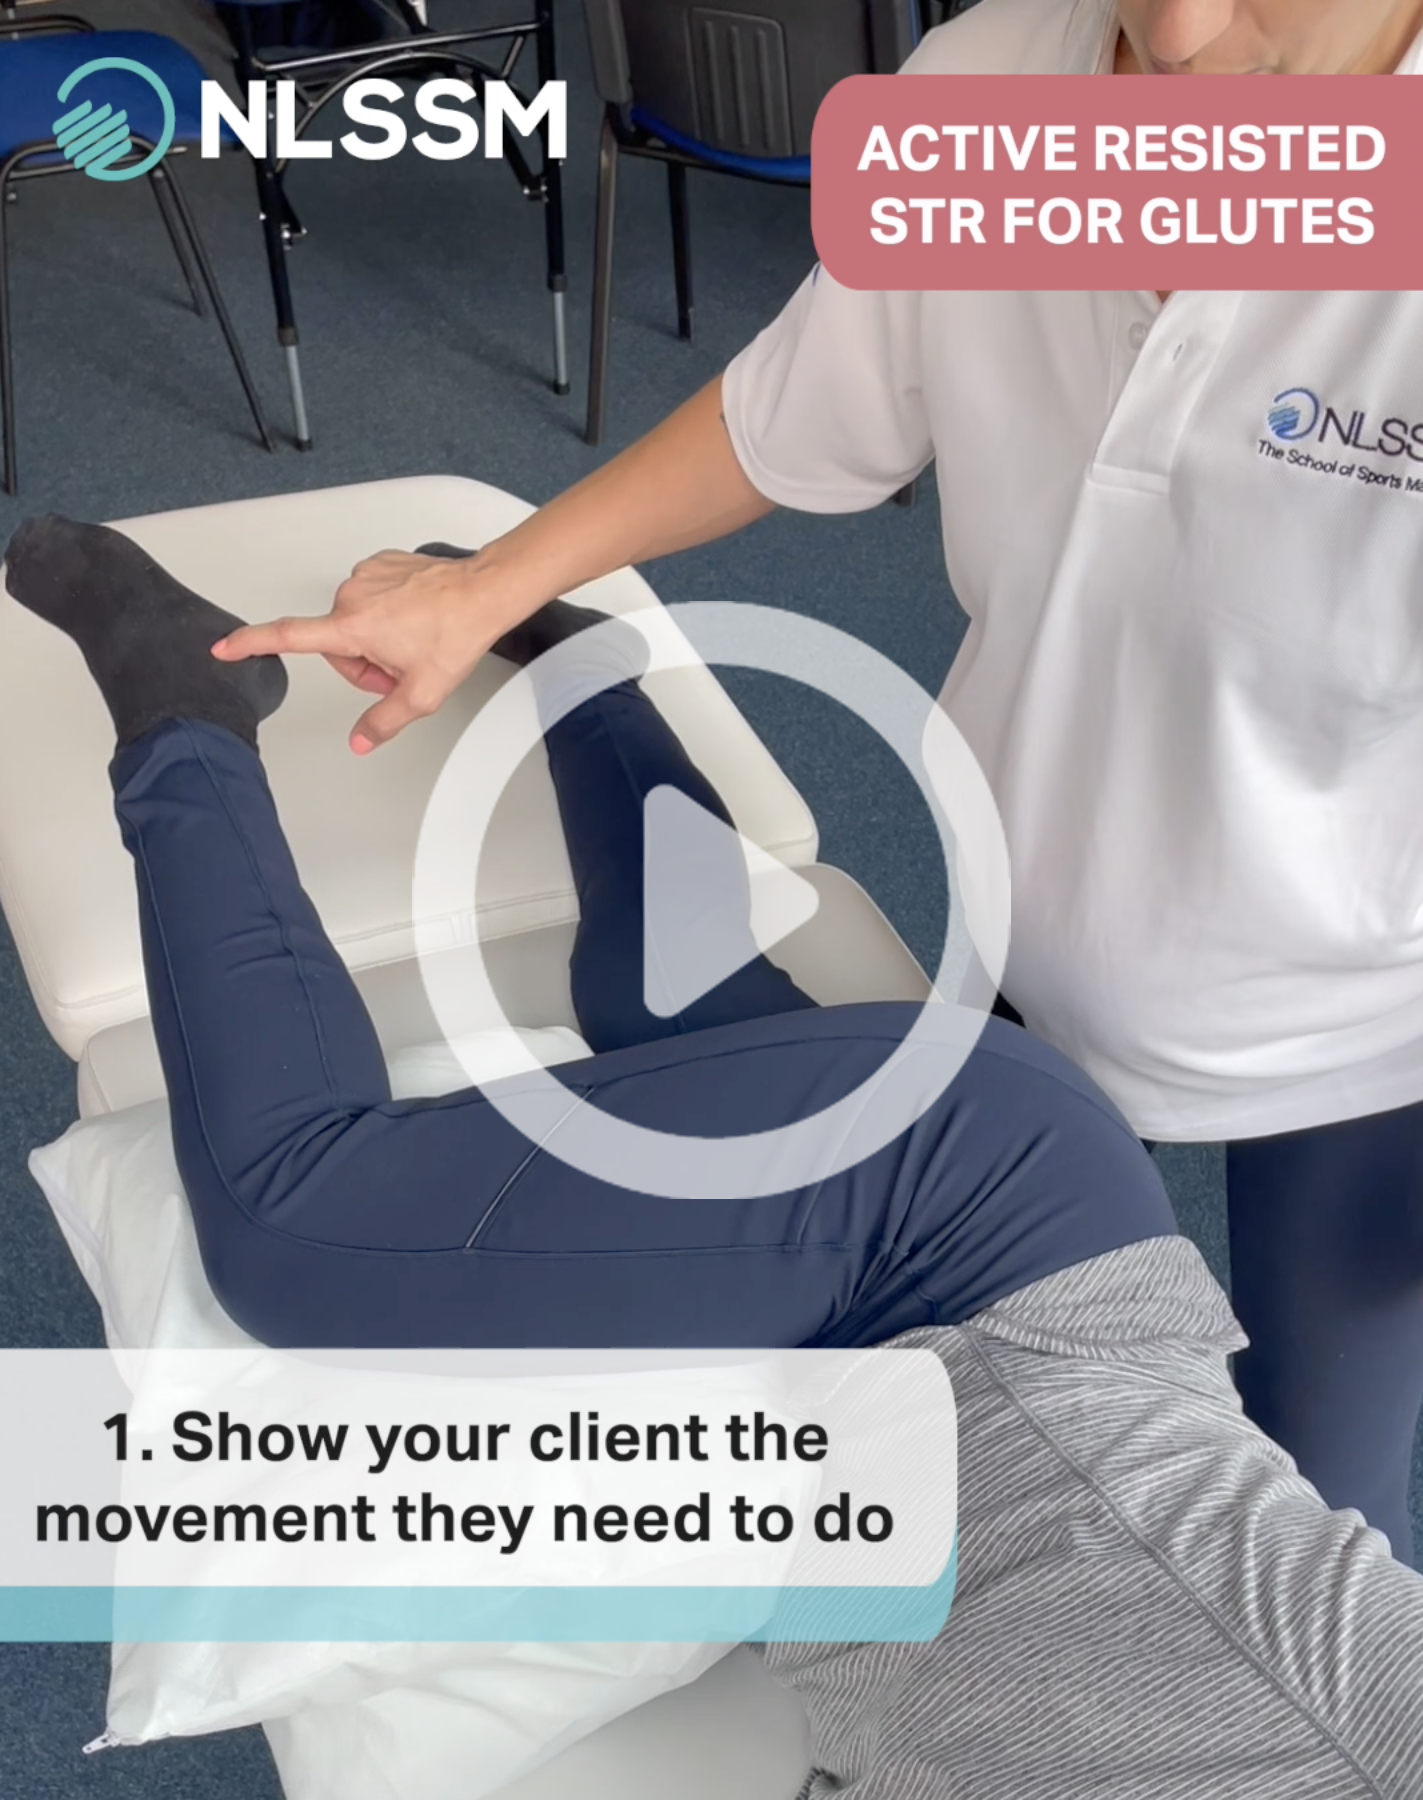
Part 1 - Everyone has a role!
Make sure the client understands what role they will play in the technique! The first video demonstrates how you can show your client the movement that they will need.
- Verbalise what the client needs to do – for example, ‘keep the inside of your knee in contact with the pillow, just lift the outside of your heel towards the ceiling’ .
- Test their movement – Give them proprioceptive feedback with a gentle touch on the lateral aspect of the heel, ask them to reach up into your finger with their heel and ask them to move as far as they can pain-free. As they move you apply light resistance to the heel, but let them ‘win’ the movement.
- Control the movement back down – Don’t let them just drop the leg. Ask them to gently lower
Part 2 - Applying the technique
Now that everyone is clear on what they need to do, you can apply the technique!
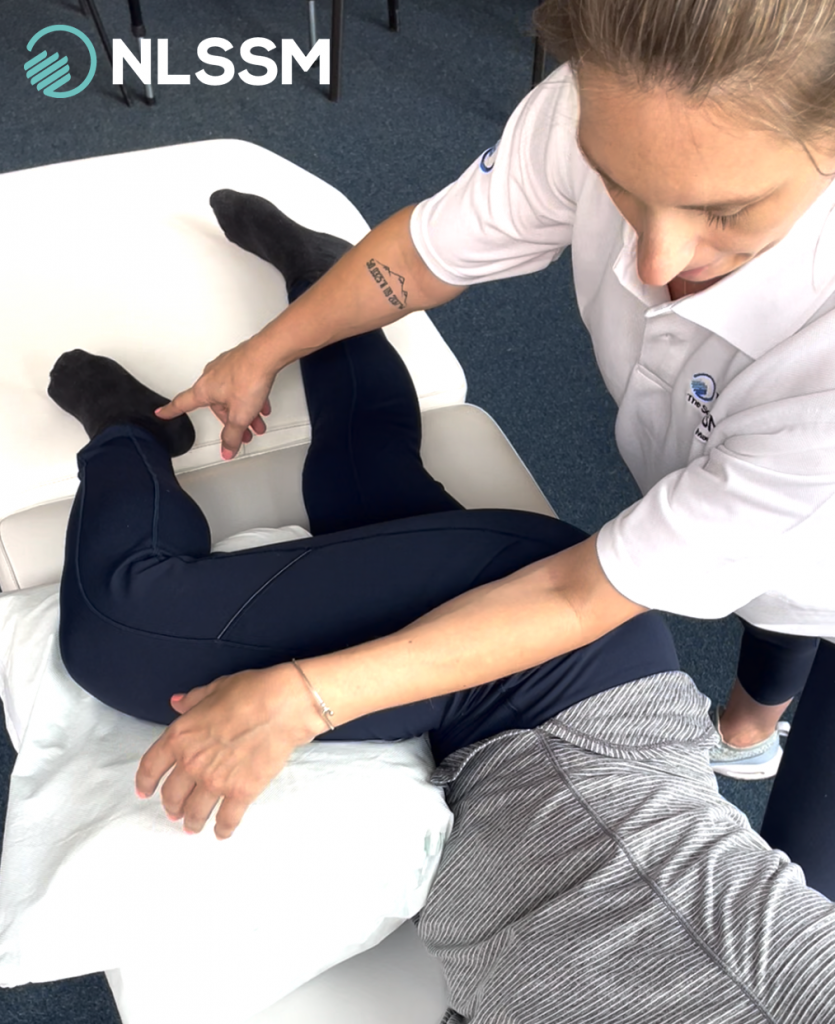
1. Gently sink your elbow into the glute med / TFL until you feel light resistance in the tissue. Keep your wrist SOFT! This is key. Any tension in your forearm will be painful to the client and compromise your palpation.
2. Apply pressure down and towards you. This is your lock. Maintain this throughout the movement.
3. Your other hand can now place a light touch with your index finger to the lateral aspect of the clients’ heel.
4. Ask them to reach into your finger for that initial resistance.
5. Ask the client to continue the movement towards the ceiling while you apply gentle resistance via your finger – allow them to ‘win’ the movement
6. With your elbow maintain the ‘lock’ as the client moves their thigh into internal rotation and you feel a gentle stretch under your elbow.
7. Full range of clients’ movement should not be achieved – the client should only be able to produce just a portion of their normal range until they can report they feel a stretch (and so can you!).
Watch the video to see the full demonstration!
Remember! There are contraindications and modifications required for any technique so please make sure you are well versed in these before applying said technique.
Continue your learning...
We cover a wide range of techniques on our bespoke Level 5 diploma in Sports Massage and Remedial Soft Tissue Therapy.